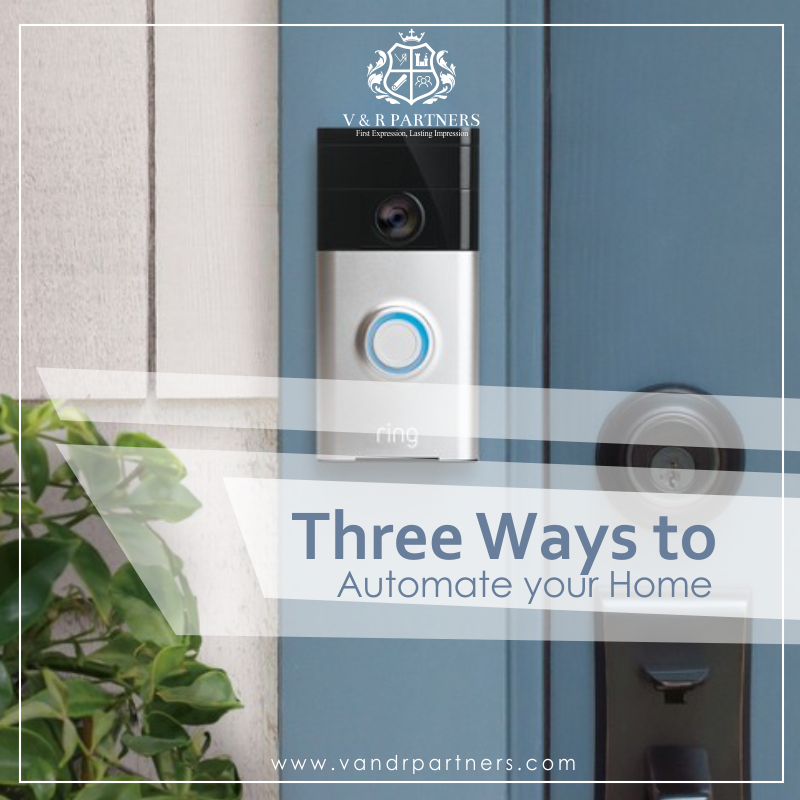
If you’re looking to get started with DIY home automation, the first question isn’t how, but what? What are you planning to automate? Then, once you have the what, you can wade through the crowded milieu of home automation products, gadgets and gizmos, and focus on how to achieve what you want to do.
Home automation encompasses everything from the very simple (smart lighting) to the extremely complex (full-home security–both indoor and outdoor–including motion-activated video with smartphone alerts). Where you start will depend on your priorities, your home, and, very likely, your budget. Because with home automation, the sky’s the limit for both possibility and price.
Here are 10 simple steps on how to automate your home today in a nutshell:
Step 1: Set Up Smart Lights to Turn On/Off on Schedule
The first step in DIY home automation is to install a smart lighting system, which is usually as easy to install as screwing in a lightbulb. Smart lights offer many advantages, such as setting your lights to turn on/off on timers (example: 5 minutes before you get home), when they sense motion (example: when you walk into a dark hallway), and under other circumstances. There are a range of products available, from simple motion-sensor lights to WiFi lightbulbs you can control via smartphone. Philips Hue smart lights offers one of the most trusted systems: simply install the bulbs and bridge, and you can wirelessly connect – and control – up to 50 lights.
Step 2: Program Your Thermostat for Energy Efficiency
Did you know that your thermostat controls accounts for about half of your monthly energy bill? That’s why a money-saving smart thermostat (~15% on cooling and 10-12% on heating) is the second step in home automation: moderately easy to install, a smart thermostat saves through scheduling, environmental sensors, and even your phone’s location (to adjust the temperature when no one’s home) – fully adjustable and controllable from your phone. One of the best rated, time-tested smart thermostats on the market is the Nest Learning Thermostat.
Step 3: Automate All Your Electronics, Appliances and Devices
The third step in DIY home automation is the smart plug, an easy-to-install device that allows you to control from afar your electronics, devices, and appliances. The TP-Link smart plug is an excellent option, offering accessibility via your smartphone and, what’s more, allows you to schedule auto-on/off (for example, at sunset) and set an Away mode, which will mimic the habits
SOURCE: watchdogreviews.com


